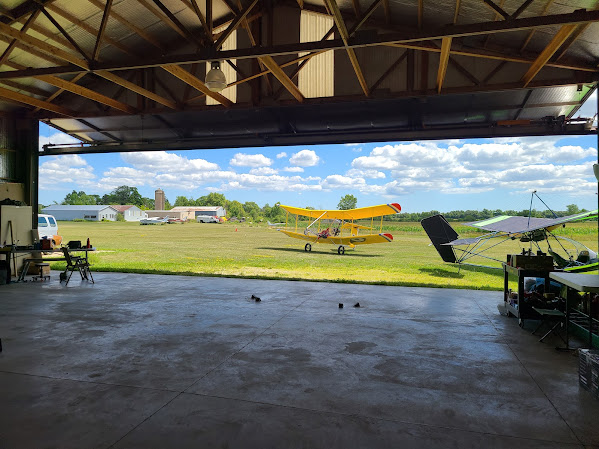
Static test at full throttle:
Building Sandlin's Bloop
Tuesday, August 9, 2022
Sunday, July 31, 2022
Thursday, January 20, 2022
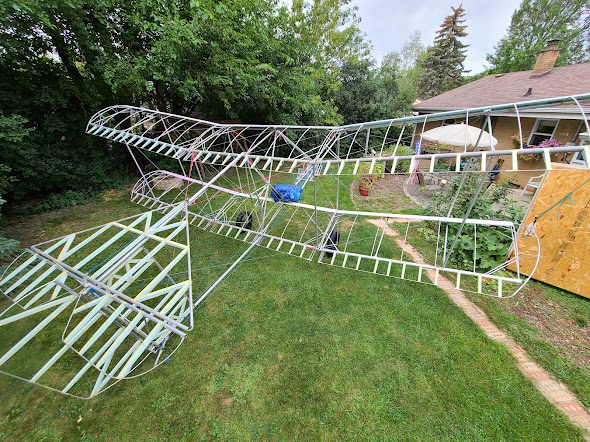
Lower, center wing: perimeter/finish tapes applied, primer next...
Fast forward after three cross-coats of primer and four coats of latex:
Saturday, September 4, 2021
Tuesday, December 1, 2020
Wing: Ribs, Leading and Trailing Edges
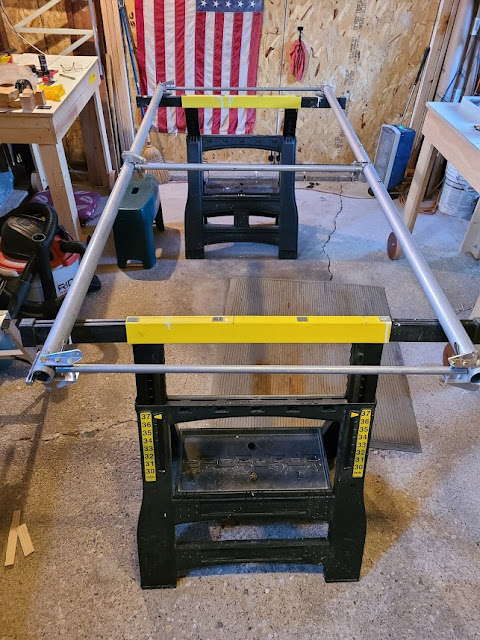
The weather has driven the project indoors, so the work tables have been placed and leveled, and work continues on the lower center wing section.
 |
Wide-angle view of the shop area. |
Sunday, October 18, 2020
Building the Wing (Well, 1 of 6 Anyway)
Finally, time to build what most people would associate with an airplane (technically a 'vehicle' since this is an FAR Part 103 ultralight) - a wing. Only one new skill is anticipated: assembly of stainless steel cable, thimbles and Nicopress sleeves.
 |
| Wing assembly well under way. |
 |
| Use of vinyl tape to assure a closer fit between main spar and inner reinforcement tubes. In this case, two thicknesses. |
 |
| Place the bushing and slide the tang over the thimble and into the bushing slot... |
 |
| Restore the thimble to its original shape. |
 |
| Nicopress sleeves and press. |
 |
| Squaring up the frame by measuring diagonally across four long temporary bolts at the corners. Fixed in place with a wood scrap and clamps |
 |
| Other side (out of picture) pre-crimped, getting ready to crimp this side. |
 |
| Rib bending table with full-sized template as a guide |
 |
| The end ribs are riveted and braced. The inner six ribs will be 'floating' - secured with epoxy/fiberglass bands. |
 |
| Stanley saw horses were on hand and worked well enough. |
 |
| Finishing some ribs. Used ViseGrips, jaws partially open about 1/4", to work the ends closed. Touched up on a piece of steel rail (train track) using a bronze hammer. Clear shipping tape keeping the template usable. |
 |
| Ribs in place. |
 |
| Rib ends temporarily taped in place with vinyl tape. |
 |
| Another view. This was the last good weather day for the season. Shop moved back into the basement until spring. Sigh... |
Elevator Build
 |
| Bending the trailing edge tubes. |
 |
| Test fitting the Elevator Control Horn Assembly |
 |
| Fitting the ribs for gluing. |
 |
| Setting up two leveled tables for rib fitting. |
 |
| Wire used to keep inner reinforcing tube from shifting out of place. |
 |
| Kitchen microplane used on foam to achieve desired shape. |
 |
| Leveling out temporary ceiling hangers. |
 |
| Epoxy layup of fiberglass. Painters tape helps keep ends in place during curing. |
 |
| The day was a bit cooler than optimal for epoxy cure. Sunshine helped out. |
Subscribe to:
Comments (Atom)


